Try It Now
Flowchart
The use flow chart is as follows:

Instructions for use
Step 1: Tool Installation
Install the Faircli command line tool
dart pub global activate faircli
Install AS plugin
The plugin marketplace is now uploaded. Install it by searching for "FairTemplate" from /Android Studio/Preference/Plugins.
After the preparations are completed, enter the development and use process below.
Step 2: Faircli-Project Creation
Engineering is divided into carrier engineering and dynamic engineering. Dynamic function modules need to be developed in dynamic engineering. The carrier project provides bundle download, loading and basic capability support.
Create dynamic project
faircli create -n dynamic_project_name
dynamic_project_name: dynamic project name
Create vector project
faircli create -k carrier -n carrier_project_name
carrier_project_name: carrier project name
Using the demo
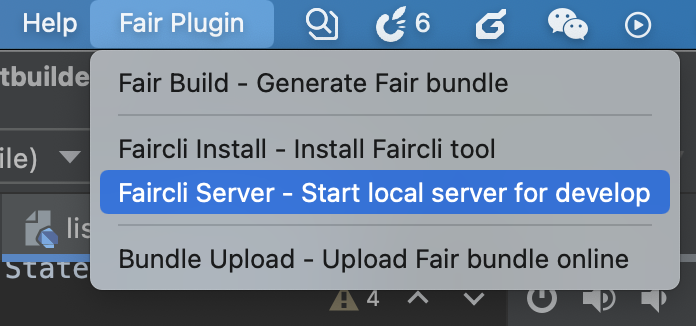
Step 3: IDE Plugin - Function Development
Template code usage
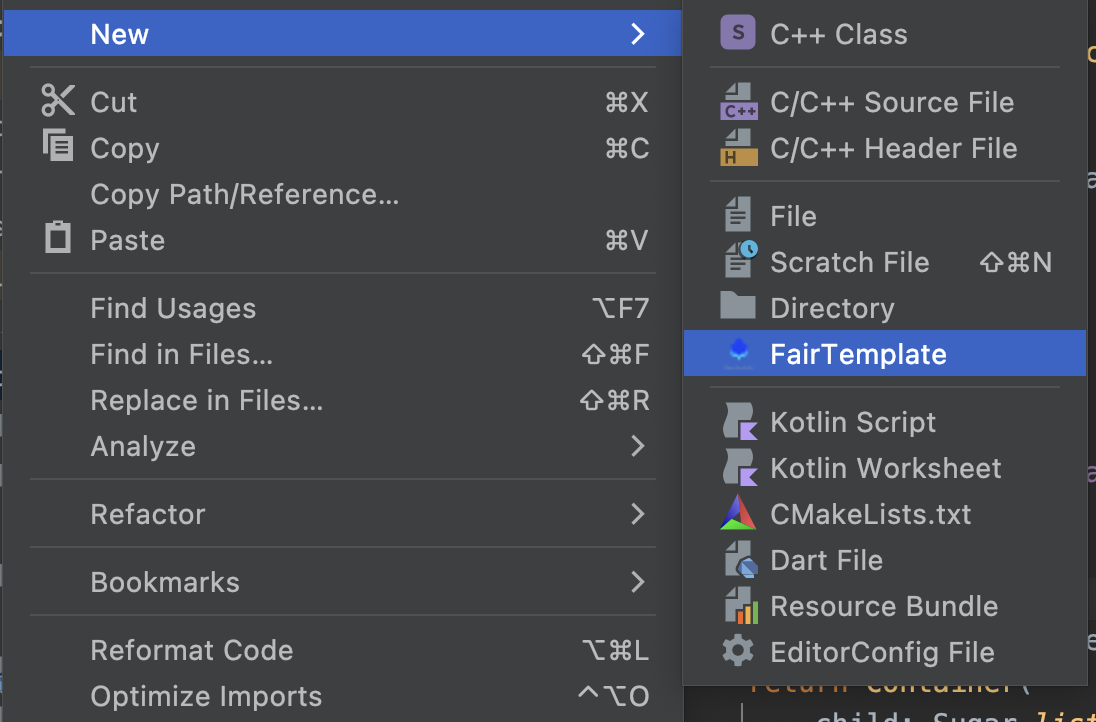
Select a code template to generate the corresponding code file.
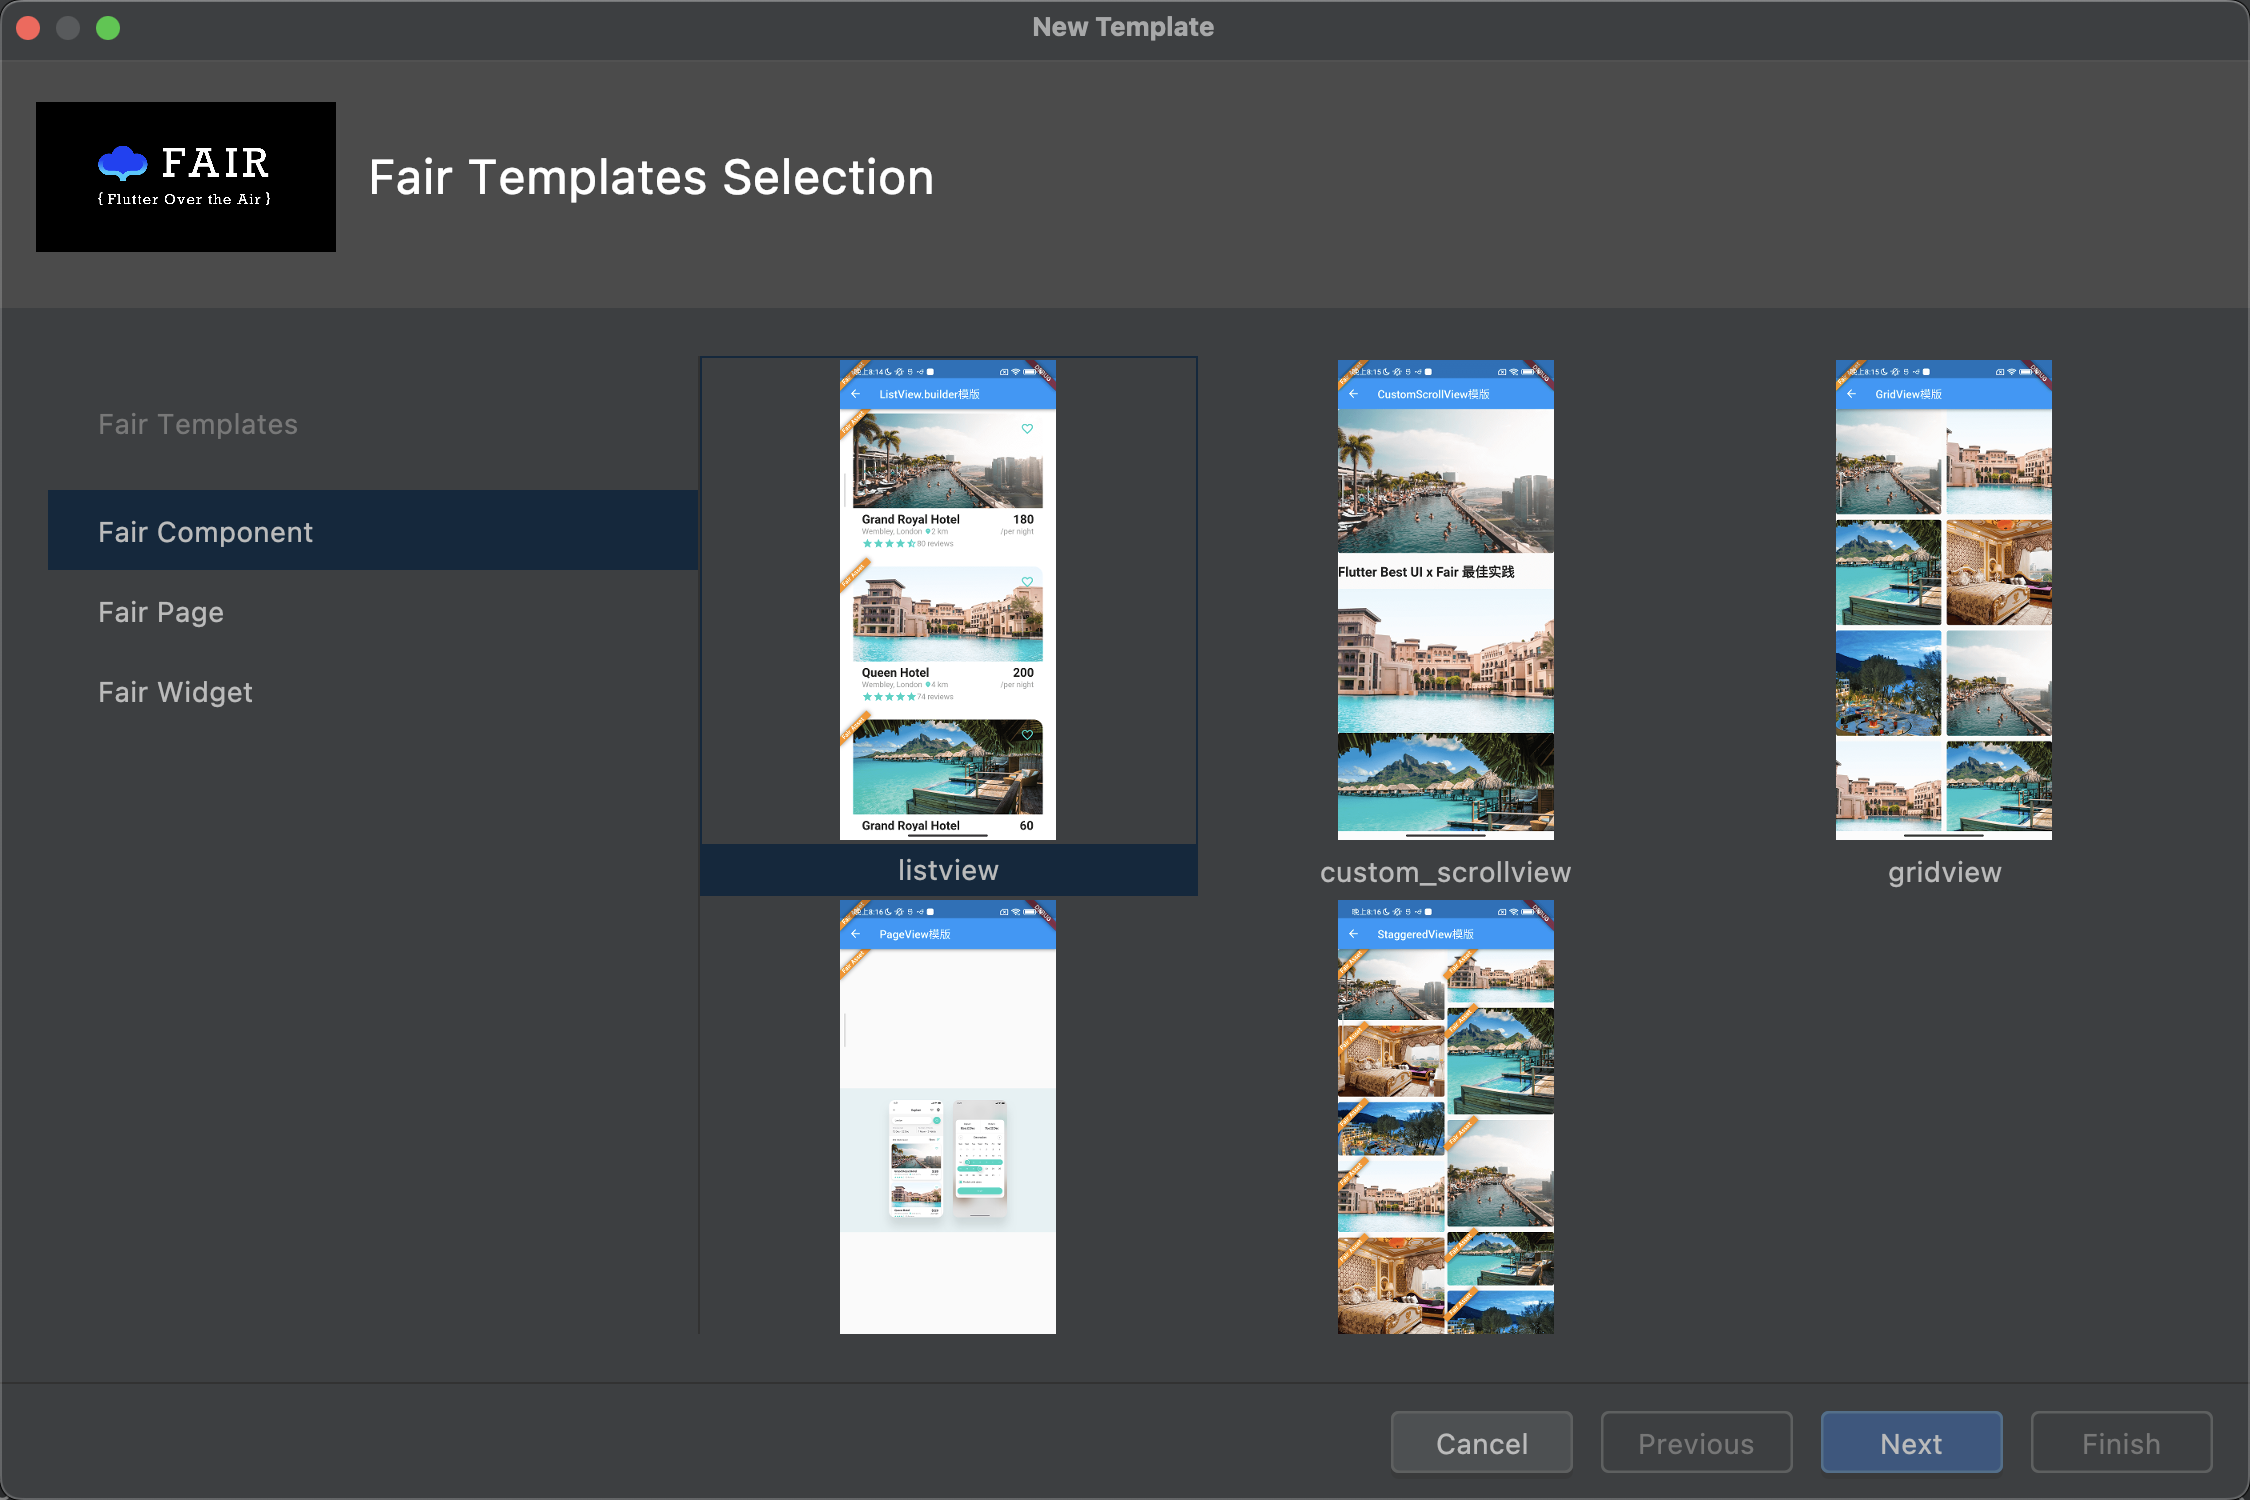
In the generated code, secondary development is performed.
One-click packaging
After the function development is completed, the AS plugin can be used for one-click packaging. 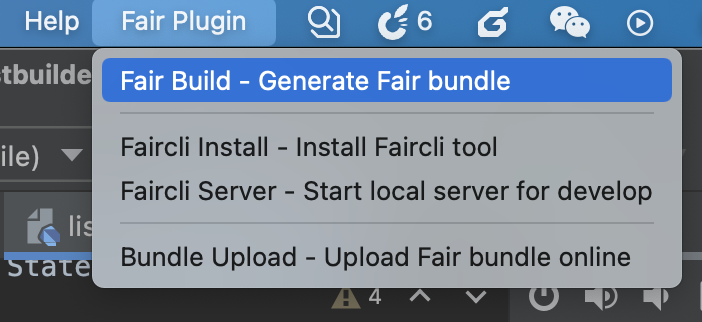
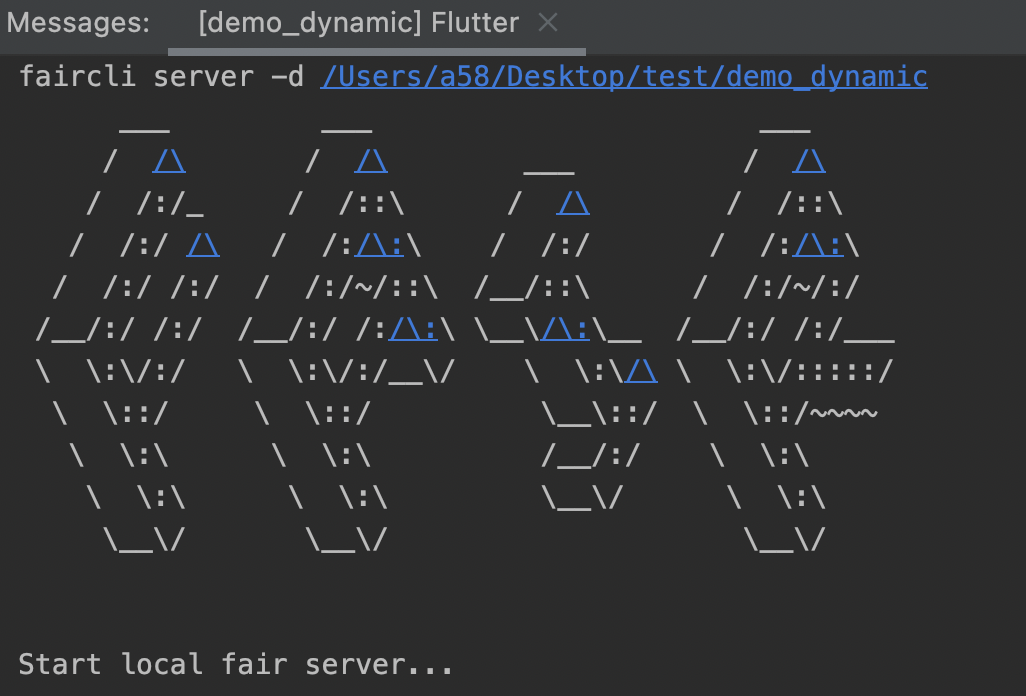
Step 4: Start the local hot update service
After the packaging is complete, you can start the local hot update service to preview the development functions.
When the console prints the following information, it means that the local hot update service is successfully started.
developer option
Run the vector project and go to the developer options page.
Enter host to load the bundle list. Select the corresponding bundle for function preview. Shake the phone to trigger the reload function.
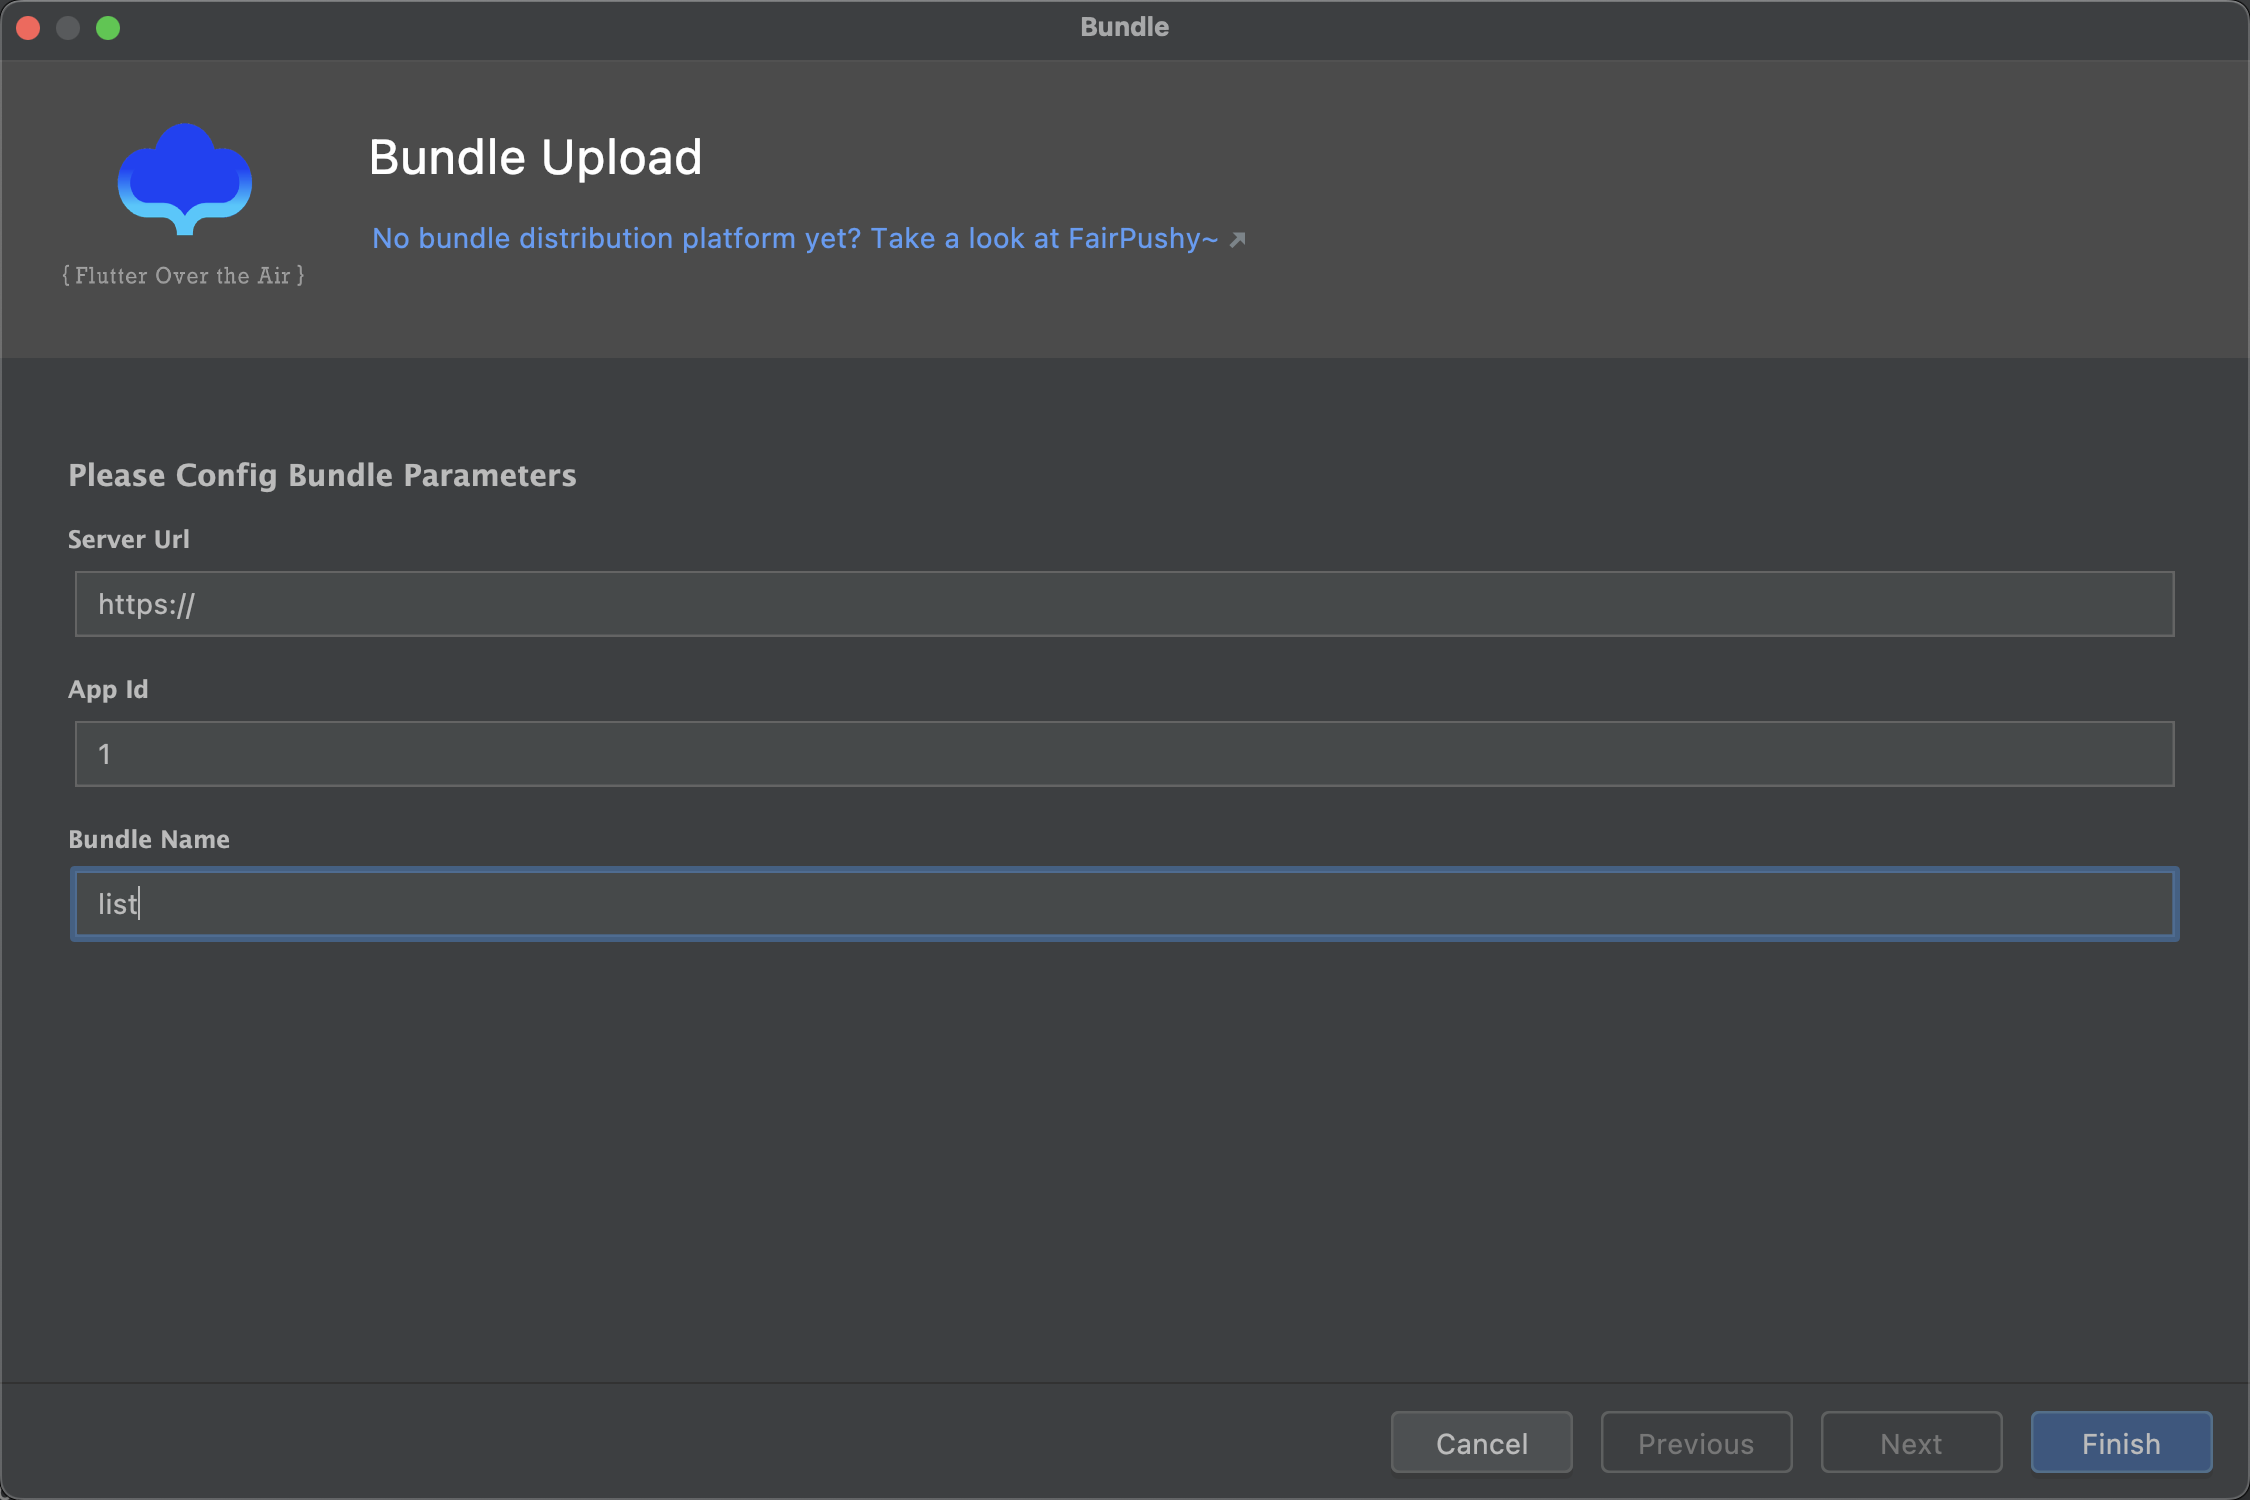
Step 5: IDE Plugin - Upload the bundle to the online environment
Effect
After using the faircli tool to configure the local hot update service, open the developer options on the mobile device, select the local mode, enter the computer ip address, and you can preview the fair dynamic effect happily.